Why You’ll Love This Recipe
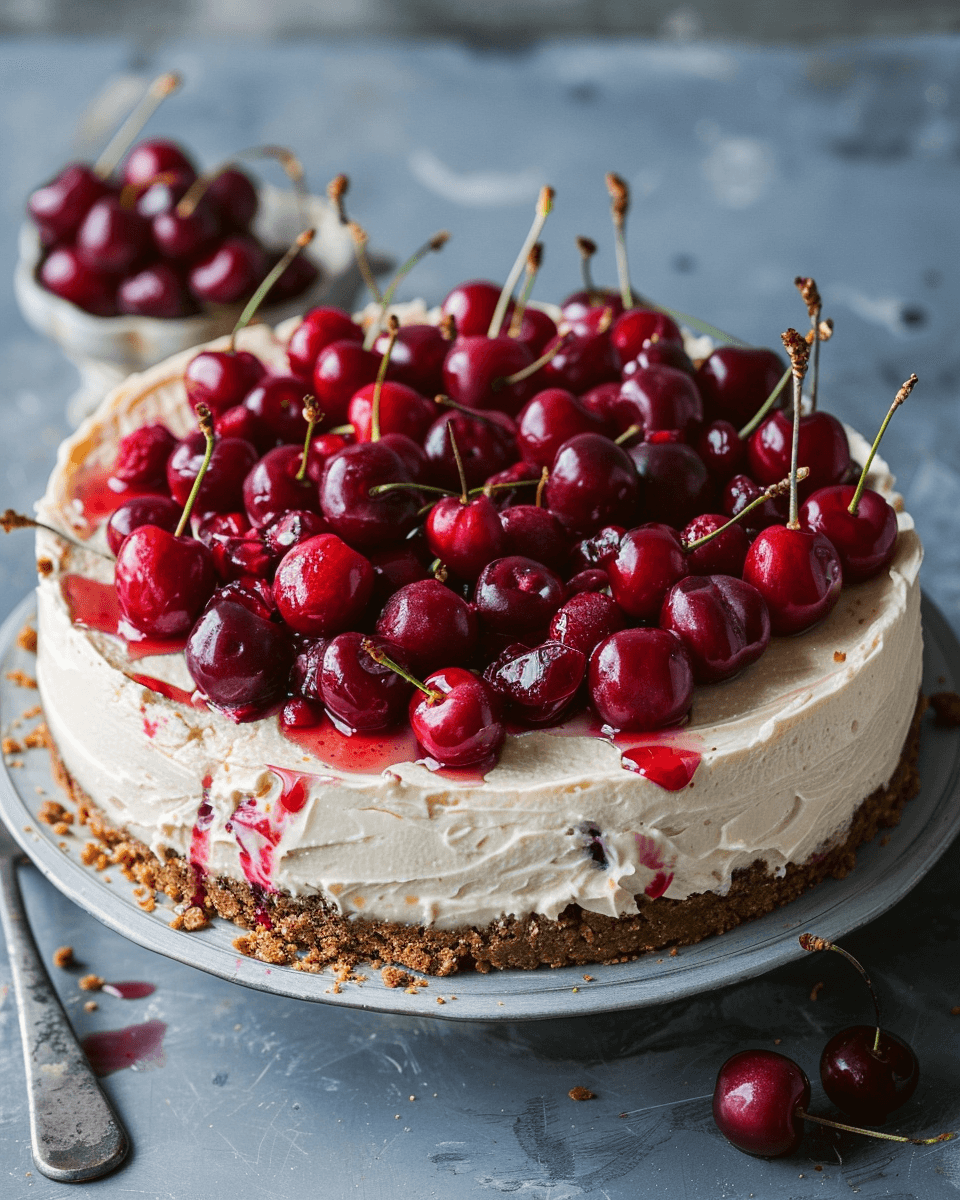
This cherry cheesecake is creamy, sweet, and slightly tangy with the perfect balance of buttery crust and fruity topping.
It is a great make-ahead dessert because it needs time to chill, making it ideal for parties and special occasions.
The cherry topping gives it a bright, beautiful finish without requiring complicated decorating.
Ingredients
(Tip: You’ll find the full list of ingredients and measurements in the recipe card below.)
For the crust:
Graham cracker crumbs
Granulated sugar
Melted butter
For the cheesecake filling:
Cream cheese
Granulated sugar
Sour cream
Vanilla extract
Eggs
For the topping:
Cherry pie filling or homemade cherry topping
Directions
Preheat the oven to 325°F.
Mix the graham cracker crumbs, sugar, and melted butter until evenly combined. Press the mixture firmly into the bottom of a springform pan.
Bake the crust for about 8 to 10 minutes, then let it cool slightly.
In a large bowl, beat the cream cheese and sugar until smooth and creamy. Add the sour cream and vanilla extract, then mix until combined.
Add the eggs one at a time, mixing gently after each addition. Do not overmix.
Pour the cheesecake filling over the crust and smooth the top.
Bake until the edges are set and the center is slightly jiggly.
Turn off the oven, crack the door open, and let the cheesecake cool gradually.
Refrigerate for at least 4 hours, or overnight for the best texture.
Spread the cherry topping over the chilled cheesecake before serving.
Servings and timing
Servings: 10 to 12 slices
Prep time: 20 minutes
Bake time: 55 to 70 minutes
Chill time: 4 hours or overnight
Total time: About 5 to 6 hours, including chilling
Variations
Use an Oreo cookie crust instead of graham crackers for a chocolate-cherry version.
Add lemon zest to the cheesecake filling for a brighter flavor.
Use fresh cherry sauce instead of canned cherry pie filling.
Make mini cherry cheesecakes in a muffin tin for individual servings.
Swap the cherry topping for blueberry, strawberry, or raspberry topping.
Storage/Reheating
Store cherry cheesecake covered in the refrigerator for up to 5 days.
For longer storage, freeze the cheesecake without the cherry topping for up to 2 months. Wrap it tightly in plastic wrap and foil.
Thaw frozen cheesecake overnight in the refrigerator, then add the cherry topping before serving.
Cheesecake is best served chilled and does not need reheating.
FAQs
Can I make cherry cheesecake ahead of time?
Yes, cherry cheesecake is perfect for making ahead. It tastes best after chilling for several hours or overnight.
Can I use canned cherry pie filling?
Yes, canned cherry pie filling works well and makes the recipe quick and easy.
How do I prevent cheesecake from cracking?
Avoid overmixing the batter, do not overbake it, and let it cool slowly in the oven with the door slightly open.
Do I need a water bath?
A water bath helps create a smoother texture and reduces cracking, but the cheesecake can still be made without one.
How do I know when cheesecake is done?
The edges should look set, while the center should still have a slight jiggle.
Can I use frozen cherries for the topping?
Yes, frozen cherries can be cooked into a homemade topping with sugar and a little cornstarch.
Can I make this cheesecake gluten-free?
Yes, use gluten-free graham crackers or gluten-free cookies for the crust.
Why is my cheesecake too soft?
It may need more chilling time, or it may have been underbaked. Chill it overnight for the best texture.
Can I freeze cherry cheesecake?
Yes, cheesecake freezes well. For best results, freeze it without the cherry topping and add the topping after thawing.
How should I slice cheesecake cleanly?
Use a sharp knife dipped in warm water, wiping the knife clean between each slice.
Conclusion
Cherry cheesecake is a timeless dessert with a creamy filling, buttery crust, and sweet cherry topping. It is simple enough for home baking yet impressive enough for celebrations, making it a reliable recipe you can enjoy again and again.
Print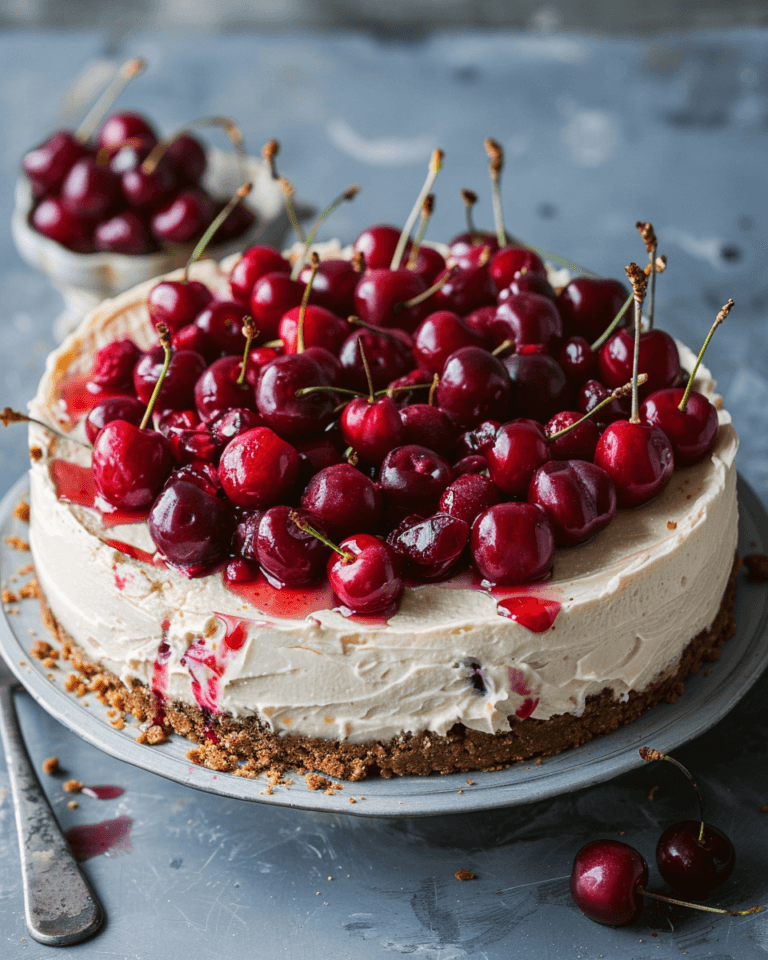
Cherry Cheesecake
Cherry cheesecake is a rich and creamy dessert featuring a buttery graham cracker crust, smooth cheesecake filling, and a sweet cherry topping. Perfect for holidays, celebrations, and make-ahead entertaining.
- Total Time: 5 hours 25 minutes
- Yield: 10-12 slices
Ingredients
- Graham cracker crumbs
- Granulated sugar
- Melted butter
- Cream cheese
- Sour cream
- Vanilla extract
- Eggs
- Cherry pie filling or homemade cherry topping
Instructions
- Preheat the oven to 325°F.
- Mix the graham cracker crumbs, sugar, and melted butter until evenly combined. Press the mixture firmly into the bottom of a springform pan.
- Bake the crust for 8 to 10 minutes, then let it cool slightly.
- In a large bowl, beat the cream cheese and sugar until smooth and creamy. Add the sour cream and vanilla extract, then mix until combined.
- Add the eggs one at a time, mixing gently after each addition. Do not overmix.
- Pour the cheesecake filling over the crust and smooth the top.
- Bake until the edges are set and the center is slightly jiggly, about 55 to 70 minutes.
- Turn off the oven, crack the door open, and let the cheesecake cool gradually.
- Refrigerate for at least 4 hours or overnight for the best texture.
- Spread the cherry topping over the chilled cheesecake before serving.
Notes
- Use an Oreo cookie crust for a chocolate-cherry variation.
- Add lemon zest to the filling for a brighter citrus flavor.
- Fresh cherry sauce can be substituted for canned pie filling.
- A water bath can help prevent cracks and create a smoother texture.
- Store covered in the refrigerator for up to 5 days.
- Freeze without the cherry topping for up to 2 months and add topping after thawing.
- Prep Time: 20 minutes
- Cook Time: 65 minutes